
Calibration of the Cell-Dyn should be performed:
1. Whenever the Cal/Disc indicator light is illuminated.
2. Whenever any control values are reported as out of range and all other causes for the variation have been eliminated.
3. Following instrument servicing if necessary.
|
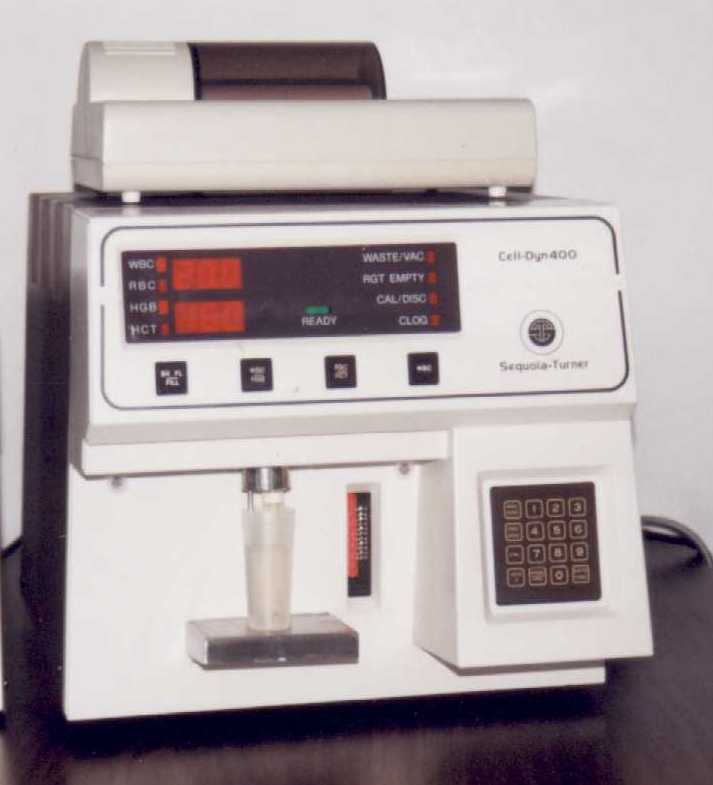
Calibration Procedure For CELL DYN 400/500 Hematology Analyzers
|
|||
|
(The actual calibration procedure is performed in two stages. Always begin with the RBC and/or HCT values when control readings indicate that these parameters require calibration. The first stage involves entering the calibration specimen values into the instrument and activating the calibration mode. The second stage consists of running the calibration specimen.) 1. From the assay sheet that corresponds to the normal control you have previously equilibrated at room temperature, obtain the mean value for RBC shown in the column for Cell Dyn 300/400/500 systems. 2. Using the numerical keypad, press Code Select, then 2. Either ECA or a value will be displayed. Enter the mean RBC value obtained from the control assay sheet. This entry requires 3 digits. Once entered, the indicator on the front panel adjacent to the letters RBC as well as the Cal/Disc indicator will automatically begin to flash. 3. Prepare two separate red cell dilutions as you would for a patient sample (1:62,500) using the normal control material. Be sure to thoroughly mix the control sample beforehand and carefully mix dilutions as they are being made. Pour the two separate dilutions into a single cup and place under the transducer. 4. Press RBC/HCT button. The instrument will count the sample 3 times and if all 3 values are within tolerance will recover and display the control assay value that was input at the beginning of the procedure. (A similar process is used to calibrate the hematocrit; however, a live blood sample should be used for this portion of the calibration procedure.) 5. Obtain a blood sample drawn and properly diluted in EDTA from a normal patient and measure the hematocrit value manually using a microhematocrit centrifuge. Values between 40% and 45% are acceptable and will yield the best results. Do not use heparinized hematocrit tubes. 6. Press Code Select and then 4. ECA or a number will be displayed. Enter the spun hematocrit value for the previously obtained live sample. Remember to enter 3 digits, even if one of them is zero. 7. As with the RBC calibration, prepare two separate RBC/HCT dilutions using the patient sample. Pour the two separate dilutions into a single cup and place under the transducer. Press RBC/HCT button. Verify that the input hematocrit value has been recovered. 8. The WBC and Hgb parameters can be calibrated simultaneously. As with the RBC calibration, obtain the Cell-Dyn WBC and Hgb assay target values from the control assay sheet. Press Code Select then 1 to enter the assay value for the WBC count. Press Code Select, then 3 to enter the value for Hgb. 9. Prepare two separate (1:250) dilutions of the control adding the appropriate amount of lysing reagent to each sample and pour both samples together into a single cup. Mix well. Place the cup under the transducer and press the WBC/Hgb button. Verify that the values previously input for both WBC and Hgb are recovered and displayed. Troubleshooting Tips:1. If the letters CE are displayed at any time during the calibration cycle, restart that sequence of steps. Clogs can also cause a calibration error (CE). 2. When performing the hematocrit calibration, measure the spun hematocrit carefully. If an attempt is made to calibrate with an erroneous value, the procedure will be aborted. 3. Since calibration determines the overall accuracy and precision of every patient measurement that follows, good laboratory practices should be adhered to. Be sure that all samples and dilutions are well mixed before processing.
1. Perform an instrument deproteinizing procedure as outlined in the operators manual using Clorox Ultra® brand bleach and warm water. Following the bleaching procedure, be sure to rinse the system thoroughly making certain that background counts have returned to normal; i.e. technical specification levels. 2. Remove one bottle of normal control from the refrigerator and allow it to come to room temperature (about 20-30 minutes). Mix well. 3. Perform Prime Diagnostics and verify that all reported values are in accordance with those specified in the operators manual. 4. Verify proper discriminator settings by pressing WBC/disc on the instruments numerical keypad. If no value is displayed, enter 30 (default value) or your customized setting. Repeat for RBC/disc and enter 20 (default) if necessary. Revised 1/2001 |
||||
Copyright © Vetlab Supply, Inc, All rights reserved.